
Ever wondered why somewindow replacementsseem to go off without a hitch while others spiral into unexpected costs and headaches? The secret often comes down to one straightforward process: how to measure for window replacement. Inaccurate measurements not only delay your project, but they can also lead to costly mistakes—especially if you’re investing in high-quality windows and doors, or pursuing a dream remodel. This comprehensive, easy-to-follow guide will show you exactly what to do (and what to avoid) so you can enjoy a flawless replacement window installation the first time around.
Why Accurate Window Measurements Matter for Replacement Windows
Getting the window dimensions right is the foundation for a seamless window replacement experience. When you’re shopping for replacement windows, nothing matters more than ensuring your new windows will fit perfectly—both for style and performance. Inaccurate window measurements can result in ill-fitting frames that invite drafts, increase energy bills, affect curb appeal, and even void manufacturer warranties. Precision at this stage determines whether your replacement windows will function flawlessly or become a costly home improvement regret.
Many homeowners are tempted to simply measure the distance between finished trim or assume they can “eyeball” a window size from the inside of your home. Unfortunately, this is one of the leading causes of window replacement pitfalls. Professionals know that taking accurate width and height measurements—plus understanding the critical role of depth and the parts of a window—avoids the headaches of reordering, delays, and extra trim work. Jump ahead with confidence by following steps developed from decades of window and door installation expertise.
“Precision is non-negotiable in window replacement. The right measurement is the foundation of a flawless installation.”
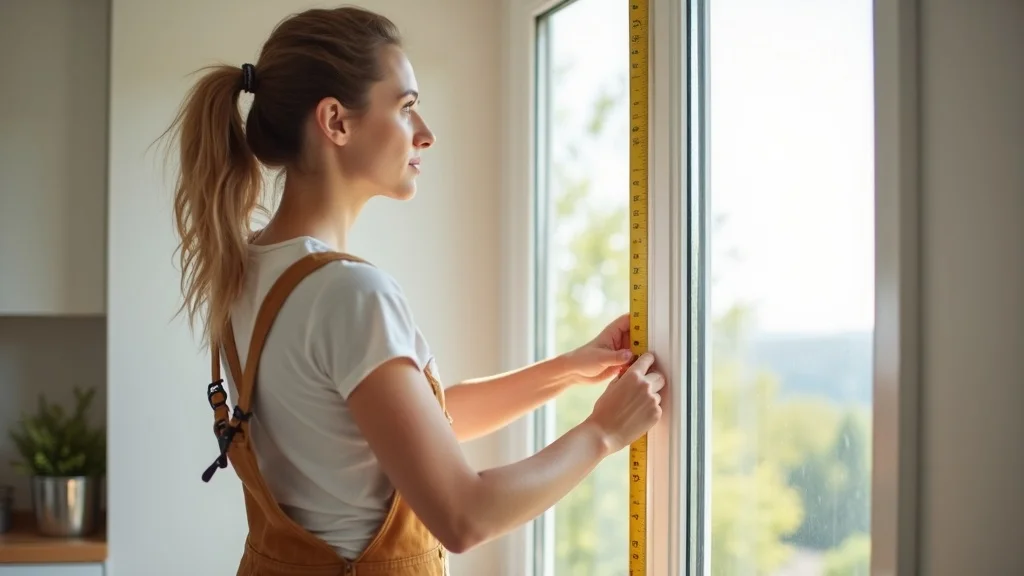
What You’ll Learn in This Guide to How to Measure for Window Replacement
-
The essential steps in how to measure for window replacement
-
Key terms and parts of a window you must know
-
The biggest mistakes to avoid during window measurement
-
When to consider professional measurement services
-
Expert advice from Banner Construction’s decades of experience
Understanding Replacement Windows and Window Measurements
Before you dive into measurements, understanding how windows are constructed and how the window measurement process relates to replacement window sizing is vital. Each window replacement project begins with a solid grasp of standard and custom window parts, such as the sash, frame, and sill. These components set the vocabulary for every accurate measurement you’ll need to complete, and knowing their function can prevent common window measurement errors.
Window and door replacements from a reputable dealer often specify measurements in relation to these key structural elements. Taking the time to learn the correct terminology—particularly when comparing window series across manufacturers—pays off in the ability to communicate effectively with professionals and suppliers. This knowledge is especially important when you need to document your measurements of your windows accurately or inquire about a complicated window size that might not be standard.
Parts of a Window You Need to Know Before Taking Window Measurements
-
Sash
-
Jamb
-
Frame
-
Sill
-
Head
-
Stool
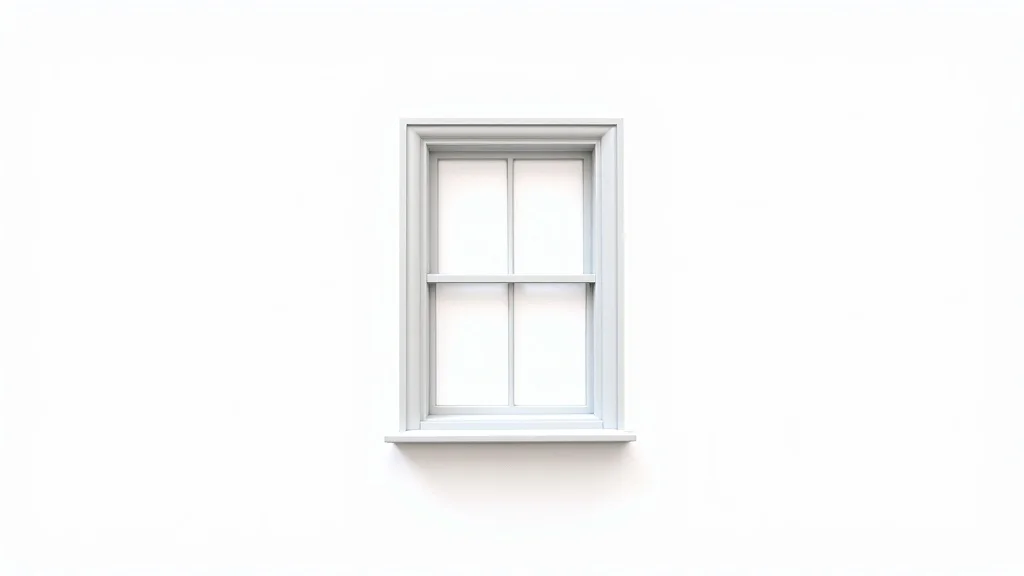
The parts of a window are fundamental to ensuring each window measurement is taken correctly. The head and sill are the very top and bottom horizontal segments, while the side jambs run vertically along either side. The sash refers to the movable frame that holds the glass, and the stool is the interior ledge. Understanding where each component lies—especially the edge of one side and the head jamb—is key to every width measurement and depth check you make. The frame outlines the entire window opening and determines how your new window is finished with drywall or trim.
Why Measuring Your Windows Correctly Is Crucial
Accurate window measurements are about more than aesthetics—they’re about ensuring your replacement window functions perfectly and stands the test of time. Even the most attractive window design will disappoint if it’s squeezed into an ill-fitting frame or leaves unsightly gaps after installation. Measuring your windows correctly up front means your new window replacement will efficiently keep out drafts, resist water intrusion, and lock securely in place.
Once you grasp the importance of window size—whether you’re upgrading a single window or pursuing a full home improvement—focus on precise measurement becomes second nature. Many homeowners learn the hard way that fixing a piece of trim is easier than remedying a window that’s a half-inch too large or small. Don’t risk the replacement process for the sake of speed—quality results start with patiently taken, properly documented measurements from inside your home.
“Before you fall in love with a style or finish, get the window measurements right—the aesthetics follow the fit.”
Step-by-Step Guide: How to Measure for Window Replacement
The process of how to measure for window replacement is straightforward when broken into easy steps. Below is your expert-driven, window measure method, ensuring you’ll have every critical detail covered for replacement windows that are tailor-fit to your space. Whether this is your first DIY window project or you’re a seasoned home improvement veteran, following each of these steps helps avoid common mistakes. Keep in mind: always record each measurement carefully and double-check before you order your new windows and doors.
Tools and Preparation for Taking Accurate Window Measurements
-
Tape measure
-
Notepad and pencil
-
Level
-
Safety gear
-
Camera (optional for documentation)
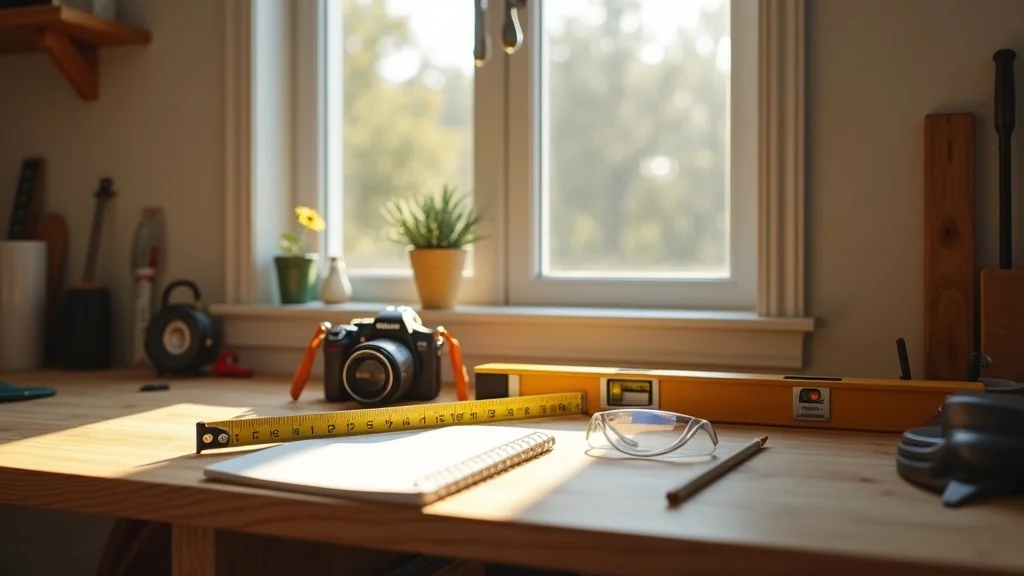
Before taking accurate window measurements, gather the essential tools: a reliable tape measure for precise readings; a notepad and pencil for jotting down numbers; a carpenter’s level to check for out-of-square conditions; and safety equipment, especially if you’re measuring upper stories. An optional camera is an excellent add-on, letting you document each window measure and note important details or interior trim variations—especially helpful if you’re working with a designer or window and door supplier. Finally, make sure you begin your window measurement process with the windows finished with drywall, not with trim, for the most reliable results.
Window Measure Method: Measuring Width, Height, and Depth
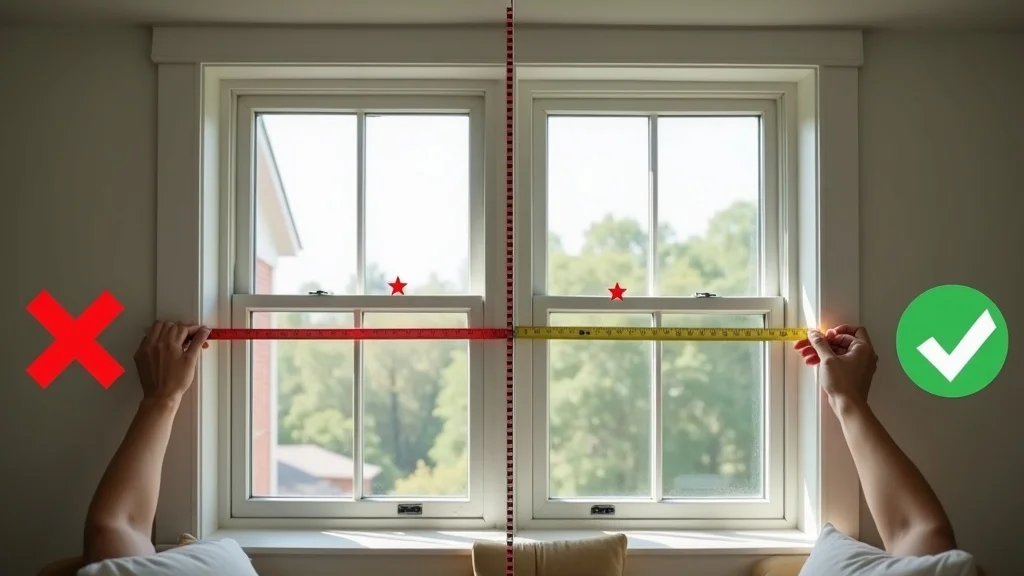
Professional installers agree: the most reliable way to measure the distance for replacement window sizing is to use the three-point method on both width and height. Here’s how you do it: measure the window’s width at three places—top, middle, and bottom, from jamb to jamb inside the existing window frame, not including any trim or parting stops. For height, measure from the head jamb to the sill at the far left, center, and right. To get the depth measurement, measure from the innermost edge of the window frame to the exterior edge, ignoring any stool or trim. Always record the smallest dimension for both width and height—this ensures your replacement window will fit without force or requiring extensive additional carpentry.
When you measure the distance between each point, hold the tape measure flat and level, making sure not to bend or angle it, which can cause accidental errors. It’s best practice to double-check your results for consistency and accuracy. Many professional replacement window services use accompanying photos or notes to clarify measurements of your windows and highlight anything unusual about pieces of trim, window size, or where the window is finished inside your home.
| Common Measurements for Replacement Windows and Where to Take Them | ||
| Measurement | Location & Reference Point | Notes |
|---|---|---|
| Width | Inside jamb-to-jamb (Top, Middle, Bottom) | Always use the smallest number |
| Height | Head jamb to sill (Left, Center, Right) | Record the minimum measurement |
| Depth | Face of interior frame to outer face | Exclude trim and stops |
Recording and Double-Checking Your Window Measurements
-
Three-point width measurement (top, middle, bottom)
-
Three-point height measurement (left, center, right)
-
Depth measurement
-
Recording the smallest numbers
-
Photographing for future reference
The last stage in how to measure for window replacement is about diligence and documentation. After you’ve performed width measurement and height checks at all three points, record the smallest figure for each. For out-of-square or not perfectly rectangular windows, consider taking diagonal measurements for additional clarity—a best practice that identifies whether additional adjustments may be needed during installation. Taking accurate notes and backing them up with photos or sketches helps prevent confusion and keeps contractors on the same page, especially if multiple windows and doors are being replaced throughout your home.
It’s easy to overlook a detail in the excitement of a home upgrade. Take time to verify your numbers, check them with a partner if possible, and compare your results with your project manager or dealer before ordering. With detailed documentation, your window replacement process is on track for both beauty and performance.
Window Measurement Mistakes to Avoid During Window Replacement
-
Measuring from the wrong points
-
Forgetting to measure window depth
-
Rounding up measurements too much
-
Not accounting for out-of-square windows
-
Overlooking frame condition
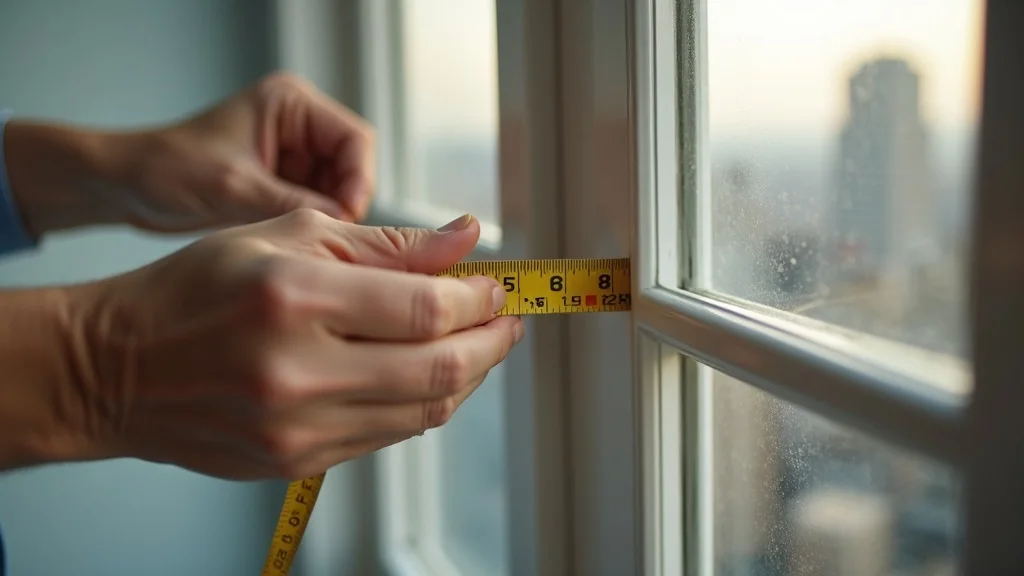
Even with the best instructions, it’s easy to make common window measurement errors that can add time, stress, and cost to your replacement window project. Measuring from the wrong points—such as from the edge of one side of the trim instead of the jambs—leads to a poor fit and installation headaches. Forgetting the window depth can result in selecting windows that don’t sit flush or require additional wall modifications. Rounding up measurements might seem like an easy convention, but even a quarter inch can cause problems for tight replacement window fits and for homes finished with drywall or intricate trim work.
Equally problematic is neglecting to account for out-of-square windows. Older homes in particular may have window frames that have shifted over time, so failing to note both height/width and diagonal measurements can conceal major installation issues until it’s too late. Always check the condition of your existing window frame, sash, and surrounding materials before taking your final window measurement.
When Professional Help Is Best for Measuring Your Windows
Sometimes, calling in a pro is the wisest step—especially with custom window sizes, historic homes, or complex window and door assemblies. Measuring your windows is a skill honed through experience, and even one misstep in the measurement process can become costly down the line. Professional installers not only know how to measure for window replacement in tricky cases, they can assess the frame condition, identify hidden issues with the head jamb or side jambs, and ensure your replacement window will perform beautifully for years.
If your windows or doors have unusual shapes, are installed at difficult heights, or you’re juggling multiple styles in a single project, schedule an expert assessment from a window dealer with a proven track record. Their accurate measurement and documentation often include notes about wall shifts, window series compatibility, and insights on the best home improvement solution, saving you both time and money on the replacement process.
“Expert window measurement is more than a number—it’s a guarantee against costly missteps.”
People Also Ask: Professional Answers to Your Top Window Measurement Questions
Are replacement windows measured from inside or outside?
For most standard installations, replacement windows are measured from inside your home. You’ll want to take all width and height measurements from the interior jambs—ignoring any trim or parting stops—for optimal fit. Measuring inside ensures accuracy, as outside frames can include extra layers of siding or brick that aren’t included in the actual window opening. Always measure the distance between the side jambs and from the head jamb to the sill for precise results.
How big of a window should you order when replacing existing?
You should order a replacement window that fits the smallest width and height measurements you find using the three-point method. This typically involves measuring at three spots (top, middle, bottom for width; left, center, right for height) and using the smallest result for your order. Don’t round up; proper window measurement means your new window will slide into the existing frame without force, leaving room for shims and insulation.
Is 32×48 a standard window size?
32×48 inches is a relatively common window size for replacement windows, but availability depends on the window series and manufacturer. While many homes feature windows in this size range, you’ll need to confirm that your actual window measurements—taken as described above—match the standard sizes offered, or whether a custom window is required for your opening.
Is 36×60 a standard window size?
36×60 inches is also a frequently encountered standard size for windows, though not all manufacturers offer every size as standard across window and door styles. Measuring your window accurately and referencing your findings with your chosen dealer is the best way to determine if a standard or custom replacement is your best choice. Standard sizes can often be delivered more quickly and at better value than custom specifications, but accuracy always comes first.
FAQs: Expert Insights Into How to Measure for Window Replacement
-
What if my window isn’t a perfect rectangle?
Measure both diagonals in addition to width and height. If the two diagonals differ by more than 1/4 inch, your window is not square and may need additional adjustments or a custom-fit replacement window. -
Do all window types require the same measuring method?
While basics are the same, specific window styles (such as casement, double-hung, or specialty shapes) may have unique points for accurate measurement—always consult your window dealer or follow manufacturer instructions for your particular window series. -
Can I measure old, damaged windows for replacement parts?
Yes, but be sure to account for warping, rot, or missing sections by focusing on the structural opening, not the damaged trim or sash. When in doubt, consult a professional to guarantee a perfect fit for your window replacement.

Key Takeaways for Getting Window Replacement Right
-
Accurate measurements are key
-
Use the right tools and document everything
-
Know when to call a professional for window measurement
-
Start with accurate window measurements before buying replacement windows
Ready to Begin Your Window Replacement? Call us at(314) 648-2368
Your dream remodel starts with the perfect fit. To ensure flawless window replacement, trust the experts with over 30 years of experience—contact Banner Construction today.